How to Choose a Photo
You do not need a professional photo to have fun with XRayly. Start with a shot where your subject is easy to see, then let the effect give it a new look.
Written by XRayly Team4 min readUpdated

The photo you start with shapes what the effect can show. A sharp, well-lit photo with your subject in frame gives the effect clear details to work with; a dark, blurry, or tightly cropped one leaves it guessing.
Here’s how to pick a photo, frame it, and what to check before you tap Apply Effect.
A sharp photo with clear lighting and your whole subject in frame is the best place to start.
Keep your subject easy to see
Choose a photo where the person, pet, or other subject stands out from the background. Avoid shots where the main subject is tiny, hidden, or cut off.
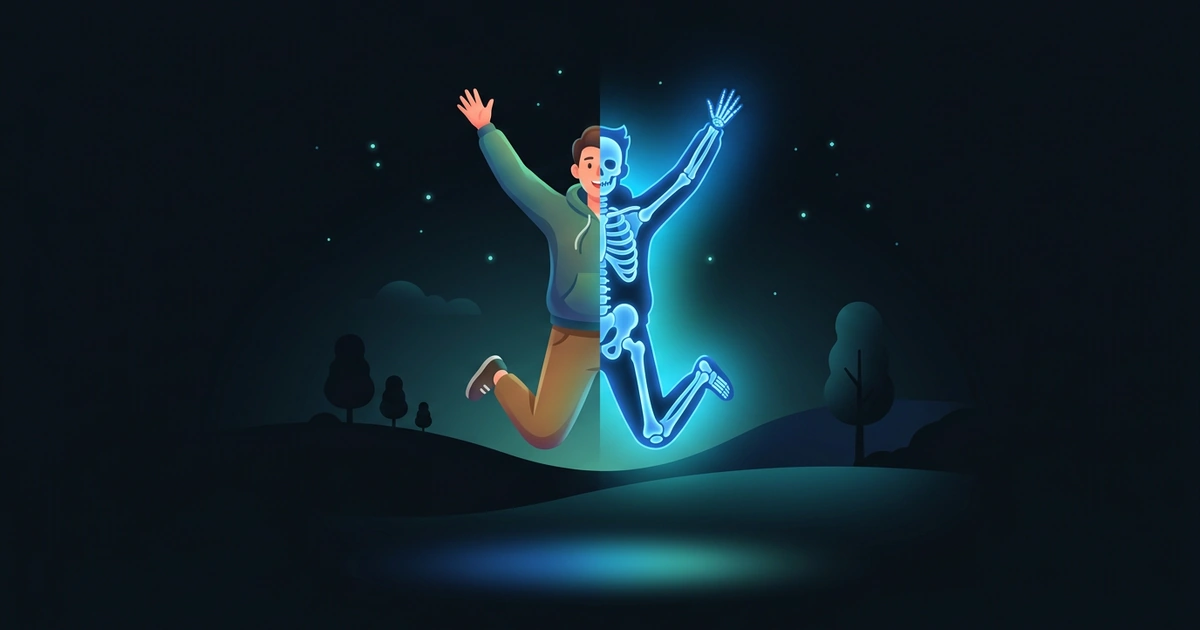
If you want to try an effect on a pose, keep the parts that make it interesting in the frame. Raised arms, a jump, or a playful expression can give you something fun to work with.

Start with clear lighting
Choose a photo where you can see the details of your subject. Soft daylight or an evenly lit room is a useful starting point. Very dark areas and harsh glare can hide details.
Night Vision does not need a photo taken in darkness. Start with a clear shot and let the effect add its green, after-dark look.

Avoid blur and heavy filters
Use a sharp original photo when you can. Motion blur and heavily compressed screenshots can make faces, edges, and small details harder to recognize.
Start without strong beauty filters or previous effects. That gives XRayly a clear photo to work from and leaves more room for the style you choose.
Frame the photo before you continue
On the Frame Your Photo screen, crop your shot before you tap Apply Effect. The screen reminds you of three tips: Keep in frame, Plain background, and Good lighting.
A closer crop puts the focus on a face, while a wider crop keeps a pose or more of the setting. Check the edges, and keep hands, ears, and other details in the frame when they are part of the look you want.
Check before uploading
Before you tap Apply Effect, check:
- Can I see the main subject clearly?
- Is the photo sharp enough to show useful details?
- Does the crop include the parts I want in the result?
- Am I starting with a photo without a heavy filter?
Try another photo if needed
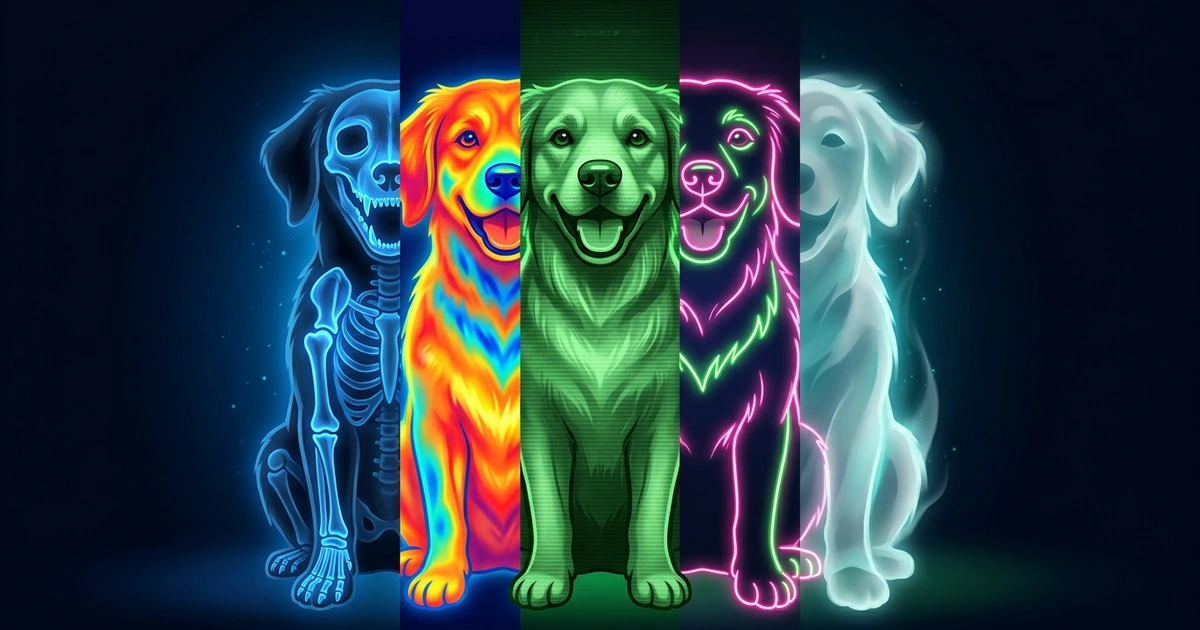
If the result is not the look you had in mind, try a clearer shot or a different crop. You can also try another effect: a photo that feels playful in Neon might look more atmospheric in Ghost Vision.
Frequently Asked Questions
What kind of photo works best for an X-ray effect?
A sharp, well-lit photo where your subject stands out from the background, with the whole pose in frame. Raised arms, a jump, or a pet mid-run give the X-Ray effect fun shapes to work with. Skip heavy filters and photos that already have an effect on them.
Can I use a photo of my pet?
Yes. Pick a photo where your pet is sharp and easy to see, with its whole body in frame if you want the full pose in the result. A plain background helps the effect focus on your pet instead of the things around it.
Why does my result look unexpected?
Usually the photo is the reason: the subject is small or cut off, the light is dark or uneven, or a filter hides details. Try a clearer shot or a different crop. You can also use Try another effect to reuse the same photo with a different style.
Is my photo stored after I apply an effect?
No. To apply an effect, your photo is sent to an AI processing service and discarded right after processing; it isn’t stored. The result is saved in History on your device, where you can delete it whenever you like.
See your world differently
Download XRayly, try X-Ray, Thermal, and Night Vision on your own photos, and find your favorite style.